
-
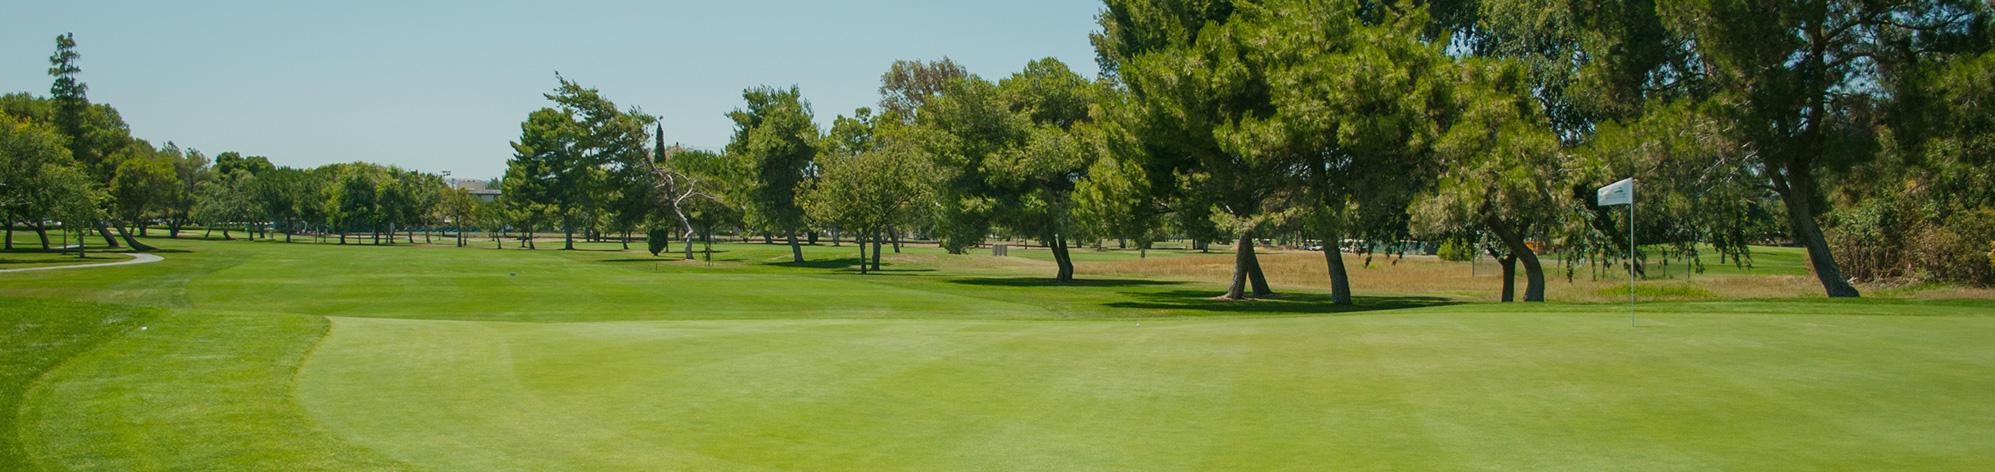
Hole 1
Green: 34 yards front to back.
Top tier is 15 yards from front and is 19 yards deep.
A drive to left of center sets up a safe second shot to the green. The green has two tiers. If the pin is on the bottom tier it pays to hit short and roll up. Plenty of room on the top tier so take enough club to get there.
Red Tees Gold Tees WhiteTees Blue Tees Yardage 348 355 372 388 Par 4 4 4 4 Handicap 7 13 13 13 -
Hole 2
Green: 42 yards front to back.
Favor the middle or left middle to get the best shot at the green. If the pin is on the right aim to the center as the green slopes left to right.
Red Tees Gold Tees WhiteTees Blue Tees Yardage 362 369 387 404 Par 4 4 4 4 Handicap 11 9 9 9 -
Hole 3
Green: 33 yards front to back.
A long, tough hole especially in to the wind. Play your tee shot to the middle and second shot to the left side of the fairway for the best approach to the green. Watch out! Long hitters can reach the second pond from the white tee.
Red Tees Gold Tees WhiteTees Blue Tees Yardage 456 530 579 632 Par 5 5 5 5 Handicap 3 1 1 1 -
Hole 4
Green: 36 yards front to back.
This deceptive hole plays longer than you think. One more club length will usually do it. Watch the wind.
Red Tees Gold Tees WhiteTees Blue Tees Yardage 172 182 208 234 Par 3 3 3 3 Handicap 15 11 11 11 -
Hole 5
Green: 28 yards front to back.
Right of middle is the only safe way! Play the second shot to the front of the green because you get a lot of roll during most of the year.
Red Tees Gold Tees WhiteTees Blue Tees Yardage 346 355 397 437 Par 4 4 4 4 Handicap 13 15 15 15 -
Hole 6
Green: 26 yards front to back.
Left to right tee shots may drive into the lake. Watch out, the tee lines up to the far right side of the fairway. A hook or draw may reach the creek which is out of bounds. Play the second shot to the left center. If the pin is on the far right make sure to stay below the hole as it slopes down from back to front.
Red Tees Gold Tees WhiteTees Blue Tees Yardage 492 499 516 559 Par 5 5 5 5 Handicap 1 3 3 3 -
Hole 7
Green: 36 yards front to back.
Upper area starts 26 yards on the left and 23 yards on the right.
A two level green. The flag placement can be deceptive on the lower level. An easy, short iron, but delicacy is required, unless there is a head wind.
Red Tees Gold Tees WhiteTees Blue Tees Yardage 93 100 111 136 Par 3 3 3 3 Handicap 17 17 17 17 -
Hole 8
Green: 36 yards front to back.
A long, narrow hole. Play tee shot to left side of fairway for best second shot selection.
Red Tees Gold Tees WhiteTees Blue Tees Yardage 378 385 402 411 Par 4 4 4 4 Handicap 5 7 7 7 -
Hole 9
Green: 42 yards front to back.
Drive to the center to avoid trees on left. Prevailing wind is right to left so play second shot accordingly.
Red Tees Gold Tees WhiteTees Blue Tees Yardage 307 387 411 443 Par 4 4 4 4 Handicap 9 5 5 5 -
Hole 10
Green: 33 yards front to back right and 36 yards to back left. Ridge on right side is 23 yards from front.
Hit your drive to the center or even left of center for the best approach to the green.. Long hitters can reach the pond on the right. Short hitters should lay up short of the creek on their second shot.
Red Tees Gold Tees WhiteTees Blue Tees Yardage 270 351 371 392 Par 4 4 4 4 Handicap 7 13 13 13 -
Hole 11
Green: 38 yards front to back.
Not a hole for the faint of heart. Must keep it in the fairway all the way in order to avoid trouble.
Red Tees Gold Tees WhiteTees Blue Tees Yardage 354 361 377 393 Par 4 4 4 4 Handicap 10 12 12 12 -
Hole 12
Green: 38 yards front to back.
A long narrow fairway where only a straight shot is safe. The second shot demands accuracy or else trouble abounds.
Red Tees Gold Tees WhiteTees Blue Tees Yardage 239 369 390 411 Par 4 4 4 4 Handicap 18 8 8 8 -
Hole 13
Green: 40 yards front to back.
A high shot will hold this rising green. The wind will play tricks here.
Red Tees Gold Tees WhiteTees Blue Tees Yardage 142 152 163 178 Par 3 3 3 3 Handicap 12 16 16 16 -
Hole 14
Green: 40 yards front to back.
Not a hole for the faint of heart. Must keep it in the fairway all the way in order to avoid trouble. Long hitters have a chance to make it in two. Beware of a pin location in the back right. Stay left or ball may roll off the green.
Red Tees Gold Tees WhiteTees Blue Tees Yardage 452 460 478 498 Par 5 5 5 5 Handicap 2 10 10 10 -
Hole 15
Green: 46 yards front to back.
Stay to the left side of the fairway for the best approach to the green. Not too far left! For the second shot, the flag is often behind the trap. Green slopes from right to left. Make sure to take extra club if the pin is in the back.
Red Tees Gold Tees WhiteTees Blue Tees Yardage 256 392 421 450 Par 4 4 4 4 Handicap 8 4 4 4 -
Hole 16
Green: 35 yards front to back.
A long hole with lots of trees. Drive must be middle to left or trees may block your second shot. The green has a ridge down the center from front to back. Ending up on the wrong side of the ridge can make for a difficult first putt.
Red Tees Gold Tees WhiteTees Blue Tees Yardage 268 381 414 454 Par 4 4 4 4 Handicap 6 2 2 2 -
Hole 17
Green: 40 yards front to back.
First ridge is 14 yards from front.
Second Ridge is 26 yards from front.
Green is 31 yards wide from middle to back.
A large three tiered green. Beware of the back tier that has a hump in the middle. Make sure to keep the ball on the pin side of the hump or your first putt will be very difficult. Wind is generally right to left but has little effect on the ball.
Red Tees Gold Tees WhiteTees Blue Tees Yardage 77 84 100 110 Par 3 3 3 3 Handicap 14 18 18 18 -
Hole 18
Green: 42 yards front to back.
The long green waits invitingly for your second shot but beware of traps, trees and hedges. If the pin is in the back make sure to take enough club or the first putt may be very long. The back right of the green drops severely to the right so make careful club selection to stay short of the pin..
Red Tees Gold Tees WhiteTees Blue Tees Yardage 321 328 344 359 Par 4 4 4 4 Handicap 16 14 14 14